Good-bye ugly concrete, Hello Faux Blue Stone!
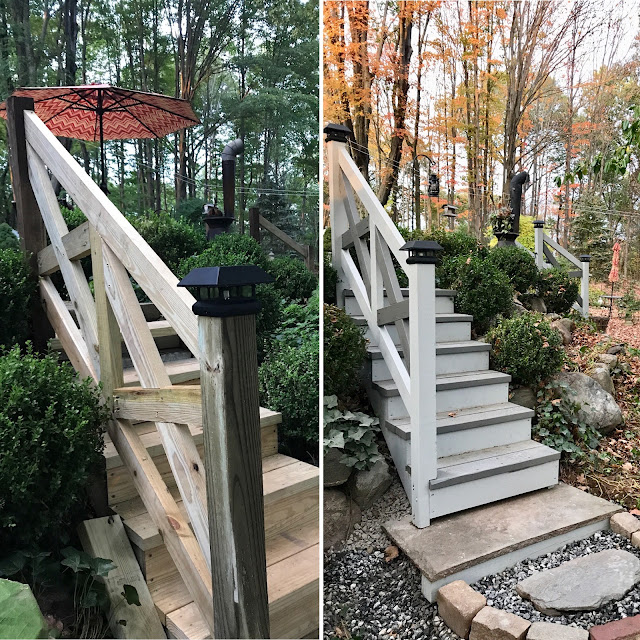
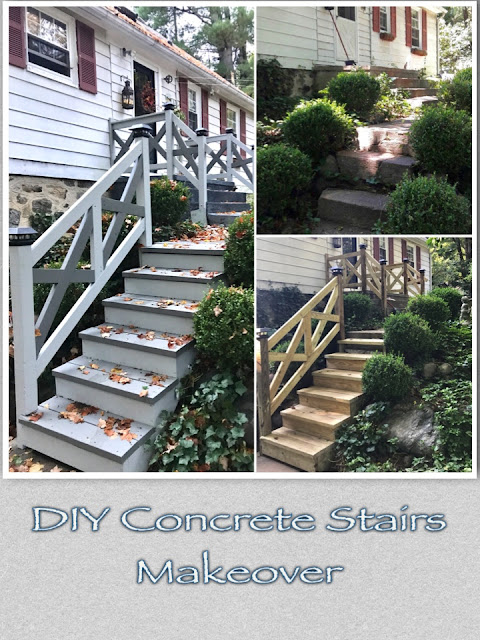
Have you ever started a project and well... it just rolls into another and before you know it your in knee deep? That's what happened here when we decided to add three sets of much needed railings to the back stairs, that lead down to the concrete patio, yard and driveway, for safety reasons.
Years ago, before we bought our forty-something Cape Cod style home, it had an enclosed back entry porch, which I'm sure wasn't very attractive, and served only to kick off your dirty shoes and snowy coats in the winter. It was torn off by the previous owners, and what was left was just the concrete stairs and landing, also not very attractive, however, the large landing and elevation gave a nice vista to the terraced yard, seen in the photo below.
We thought about adding a wood deck across the back of the house, or tearing out the concrete patio and installing paver stones or some other hard scape material, however, with the expense of that along with life happening around us, it was never "in the budget". We've been in the house over thirty years now and are thinking of moving to a warmer climate.
We wanted a sturdy railing and something that would be different but compliment our home and landscape, and that didn't cost an arm and a leg! I looked at several railing kits at the big box stores, that consist of posts, rails and caps that you purchase separately to achieve the desired size and look you desire. When we added up all the necessary parts for just our top stairs, it was over $800! We decided it would be more cost effective, as well as sturdy, to design and build our own. After looking at several photo designs on line I had an idea of what I wanted. I posted a pic on Facebook and Instagram of three styles and took a poll of what design to build. It was an overwhelming vote for style C, the one I had already decided on!
 |
I called Keith, an experienced carpenter that has helped me on several client designs, to build our stair railings. Keith is a finish carpenter and has many years of experience indoor and outdoor
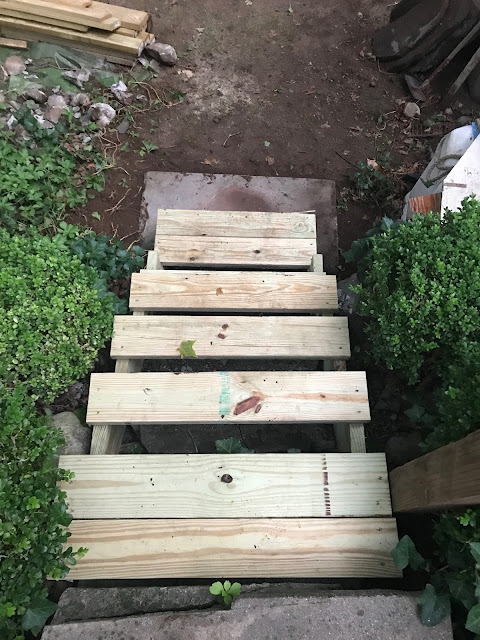
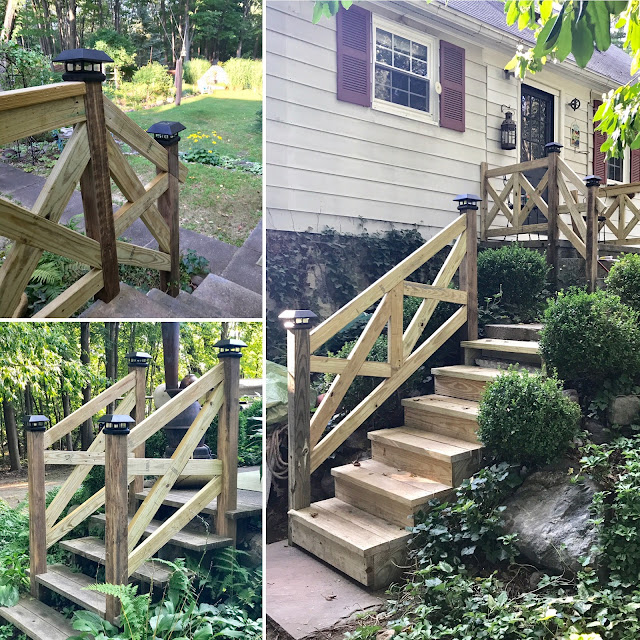
projects and is knowledgeable about wood. I showed him my ideas and told him I wanted to keep the design simple and budget friendly, so he suggested pressure treated 2x4s and 2x10s and 4x4 posts that are screwed and glued together. Keith suggested building a set of wood stairs right over the old, and crumbling, concrete ones that were there. I thought that was a fabulous, and again, cost friendly solution to a big problem! You can buy pre-made stair stingers, that save building time, at Home Depot for nominal cost. Here are some photos of the building progress.
 |
| Upper Stairs |
 |
| Garden Level Stairs |
 |
| Concrete Stairs Before |
 |
| Driveway Stairs |
 |
| That's Kieth! |
 |
| Adding the solar post covers |
 |
| Adding the stain |
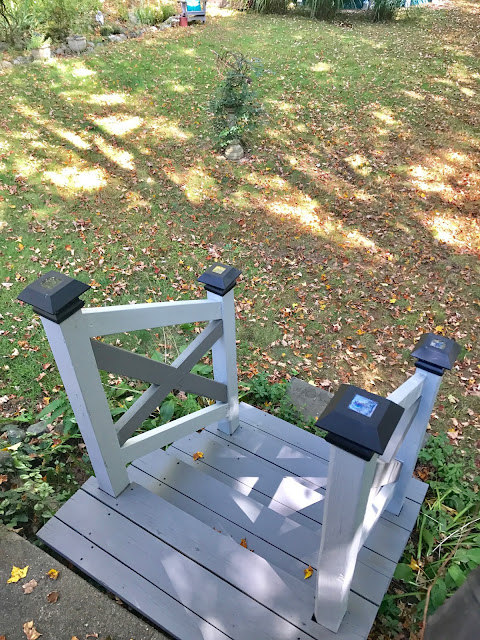
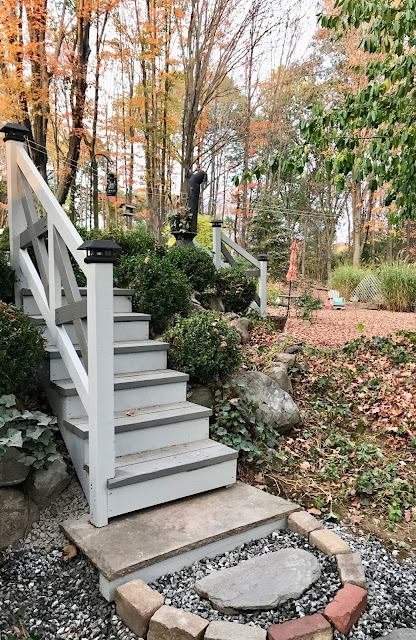
After much sanding to ensure no-one would get splinters when using the hand rails, I applied a two tone stain finish that adds just a bit more detail and style to an otherwise plain 2x4 construction material. I found inexpensive solar covers at The Home Depot for just $5 each to finish off the posts and add some extra lighting at the patio area. Total spent on materials and labor was just under $900 for all three sets of rails and the new wood stairs, and we are thrilled with the result!
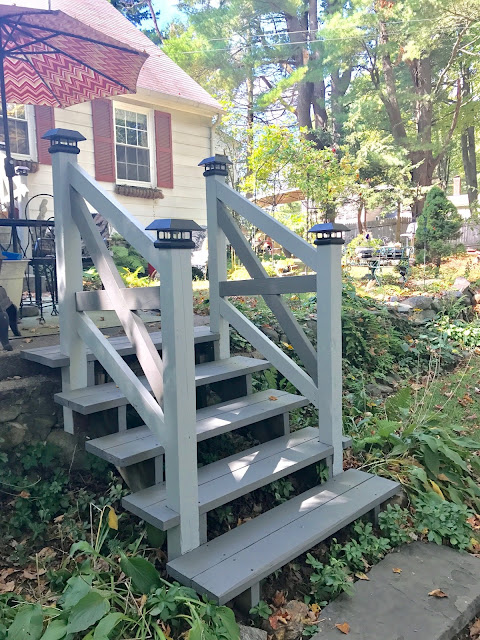 |
| Garden Stairs |
We started the stairs and railing project in July and as you can see from the photos finished just in time for the fabulous Fall colors!
Patio Makeover
After finishing the railing project I realized how awful the concrete looked in comparison, so decided that this was the time to take action once again! I have been wanting to do something to that ugly concrete for sometime now! Here's a photo of the back stairs taken several years ago, and even though I tried to make it inviting with planters and such, you can see it really needs a makeover!
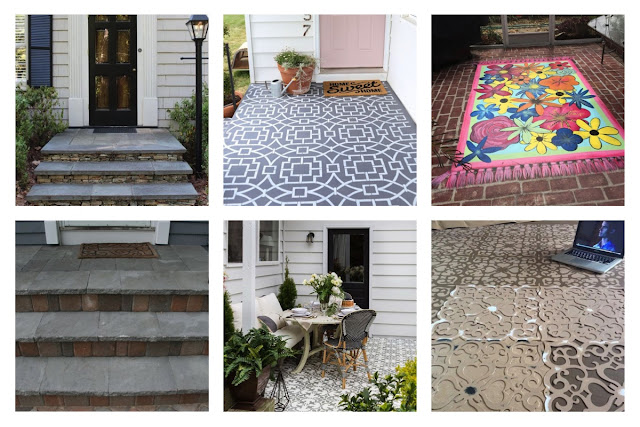
Some different ideas I was considering were painting and area rug design, stenciling a flagstone pattern over the entire area, or facing the patio and stairs in a stone or tile, shown in the inspiration photos below. Even though these are all great ideas,because I was thinking "resale" I decided a neutral design and color palette was the best way to go. You can view the sources for these and many other great designs here on Pinterest.
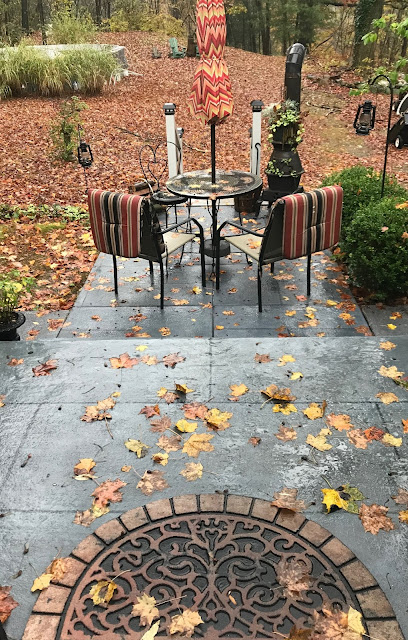
Because we may be selling out home in the near future, I decided to take a much more realistic and cost effective approach by staining the patio and stairs in a blue stone color with a very simple pattern. Real blue stone pavers are readily available here, but at an average cost of $18-$20 a square foot to install, not including the expense of tearing out the old concrete, staining was definitely the way to, especially because I was working on the project solo. I knew basically what I wanted to do but still took to the internet and of course Pinterest for ideas, along with visiting my local home improvement stores looking at different DIY products to use for the project. Here is my inspiration photo!
 |
| My Inspiration! |
After some research I decided on a line of concrete products by Behr that have an array of different looks you can achieve with relatively little skills. The product directions said to apply with a sprayer however I used a combination of rollers and brushes. I figured I would have more control of the colors that way.
I thought starting with the stairs would be more manageable as it is a smaller area. After cleaning the concrete with a hose I rolled on a base coat using the color Industrial Gray. After it dried I thought it looked a little to blue, so here's where the experimentation began!
We have a few old bluestone stepping stones around the yard, so I was going to try to match the natural color of those, seen below.
I wanted to go darker so I then rolled the first coat with Arctic Gray. I immediately loved the color but know it needed it to be more modeled, with a blend of colors. Equipped with paint brushes, blotting rags and three colors, I began to apply, blot and blend the colors until I achieved the desired look. This took a while because of the dry time between colors. I decided to add the grout lines to the stairs to make it look more like real bluestone pavers by taping off thin lines after the base coat was finished. I found half inch wide tape at Joann Fabrics that did the trick. Because the concrete is so porous the paint bled a little under the tape, so after removing it, I dabbed over the lines with a thin brush by hand. It really wasn't as difficult as it sounds!
I am very happy with the way gray colors all came together to compliment the back door that I also made over in this project by painting it in "Wrought Iron"by Benjamin Moore.
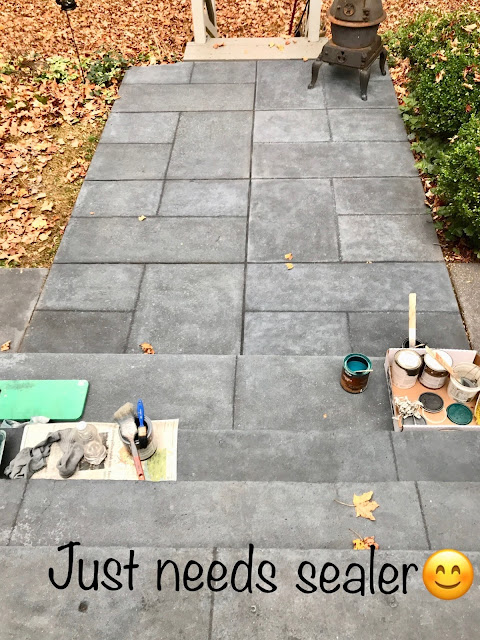
After I was happy with the result of the stairs, I moved on the patio area. The expansion joints were already in the concrete defining six large sections so I rolled on the base coat and then used the same tape to make grout lines that created a smaller paver pattern. This took a little pre-planning to come up with a pattern that seamed appropriate, again I looked to several photos of real bluestone patios for inspiration!
 |
| Base Coat |
 |
| My Reward! |
For the last step I applied three coats of the low luster sealer that is recommended to ensure the stain would last for many years. The total cost for the materials for the patio and stairs was about $150, so for just over $1000, we have an updated and functional outdoor area that adds a pleasing curb appeal for resale value!
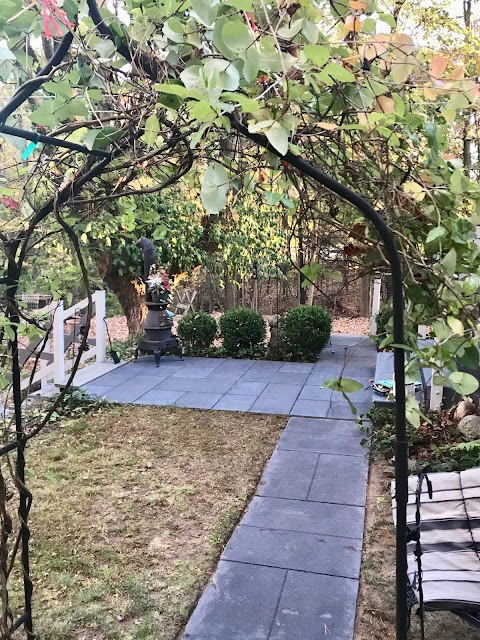
I love the view from the house of the patio and garden below, and how the patio and stairs look after a rain! It's certainly an area we will enjoy even more now, and for as long as we may be here!
 |
| LOVE! |
After my knees and back recover I will move on to another project!
I hope you got some inspiration here! If you have any questions about this project please leave it in the comment section!
Thank you for visiting today!
Until next time!
Tina


